To knock in a new cricket bat, oil the face lightly, then strike it with a wooden mallet in short sessions, starting gently and building up the force over about six hours. Work the edges at an angle, finish with an old ball, and stop only when a firm hit with that ball leaves barely a mark.
Knocking in compresses the soft fibres on the face, edges and toe of an English willow bat. A new bat straight from the maker has a soft surface that can crack the first time it meets a hard ball. Knocking in toughens that surface so it can take the impact.
It's slow, repetitive work, and that's the point. The fibres need to be compressed evenly and gradually. Rushing it, or skipping it, is the most common reason a new bat cracks in its first few weeks.
This guide covers what you need, a step-by-step method, how long it really takes, and the ball test that tells you when the bat is ready.
 Premium White Batting Gloves£45.99£34.99 Sale
 White Cricket Batting Pads£55.99£44.99 Sale
 Premium Cricket Helmet (Blue)£47.99£42.99 Sale
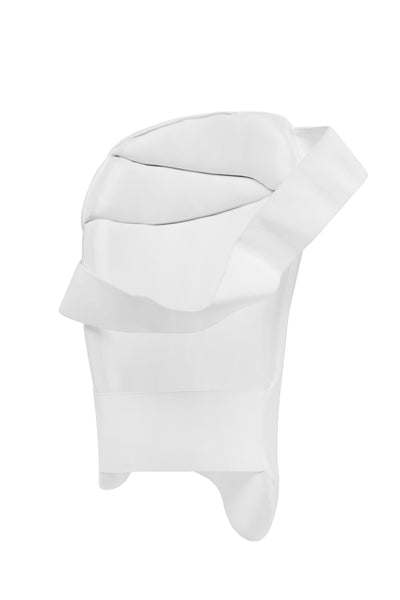 White Thigh Pad - Large£42.99£34.99 Sale
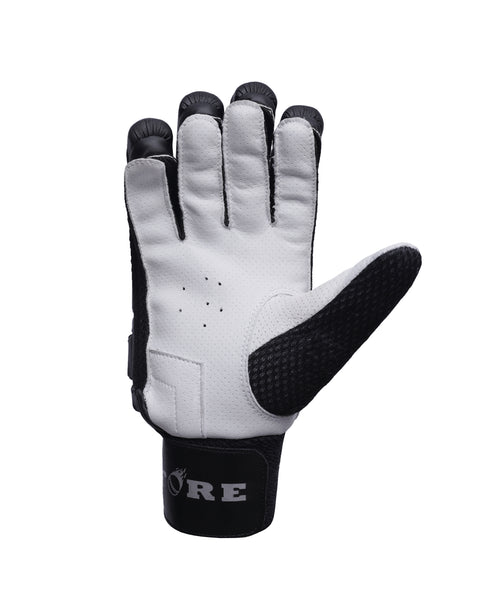 Premium Black Batting Gloves£45.99£34.99
 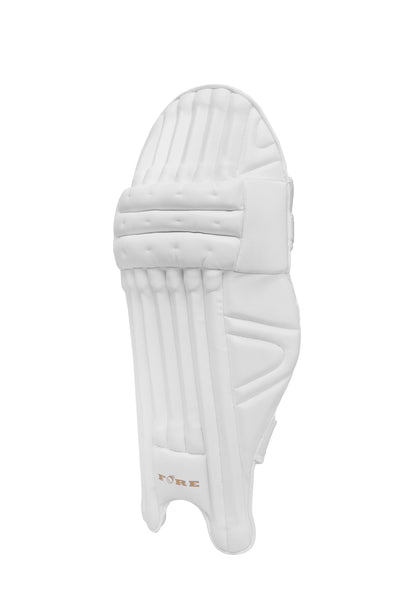 Premium Cricket Batting Pads£69.99
 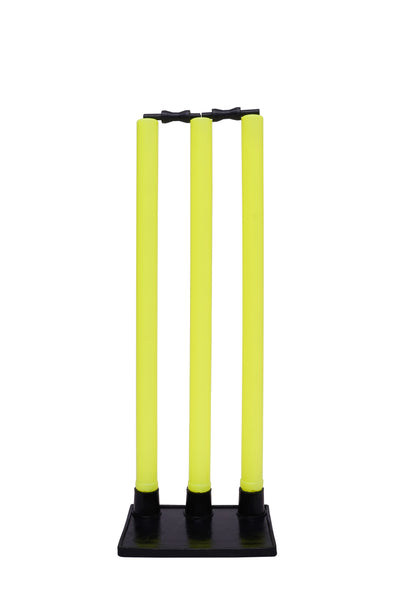 Heavy Base Cricket Stumps£29.99 SalePremium White Batting Gloves£45.99£34.99 SaleWhite Cricket Batting Pads£55.99£44.99 SalePremium Cricket Helmet (Blue)£47.99£42.99 SaleWhite Thigh Pad - Large£42.99£34.99 SalePremium Black Batting Gloves£45.99£34.99 Premium Cricket Batting Pads£69.99 Heavy Base Cricket Stumps£29.99
What you need before you start
You need four things, and none of them is expensive.
- A wooden bat mallet. A hardwood mallet with a flat face and a rounded side does the main work. An old ball in a sock will do at a push, but it takes far longer.
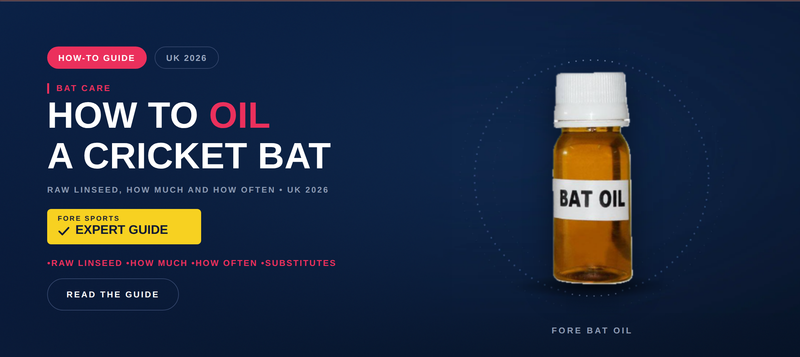
- Raw linseed oil. Raw, not boiled. Boiled linseed oil is made to dry hard and isn't meant for bats.
- An old leather cricket ball. A good-quality ball that's been used, not a cheap practice ball. You'll use it for the ball test and the first net sessions.
- Time. About six hours spread over a week or two. Ear defenders help, especially if you share a house.
Optional extras: a clear protective face sheet and edge tape to fit once the bat is ready, and a toe guard.
Check before you start: if your bat already has a clear protective face fitted, don't oil the covered area, and check whether the bat has had any factory preparation. Both change how much work you need to do.
Knocking in a cricket bat step by step
Step 1: Season the bat with oil
Cricket bat seasoning means preparing the willow before use, and it starts with oil. Oil keeps the surface fibres supple, so they compress and knit together under the mallet rather than splitting.
- Rub about a teaspoon of raw linseed oil into the face with your fingers, then a little on the edges and toe.
- Keep oil off the stickers, the splice and the handle, and off any area covered by a protective face.
- Lay the bat flat, face up, and leave it to dry for 24 hours.
- Repeat once or twice if the willow still looks dry.
Less is more. Too much oil makes the bat heavy and soft, and can deaden it. If the bat came pre-oiled, one light coat is plenty.
Step 2: Start gently on the face
Hold the bat by the handle with the face up, or rest the handle on a firm surface. Tap the middle of the face with the flat of the mallet. The first strikes should be firm but not hard, just enough to leave a slight dent.
A useful technique is to make one small dent, then knock the area around it until the dent disappears and the face is level again. Repeat this across the hitting area. You're aiming for an even, compressed surface, not a pattern of dents.
Step 3: Build up the force
After the first hour of total knocking, start hitting a little harder. By the second or third hour you can hit the face reasonably hard, about as hard as a well-struck ball. Never jump straight to full force.
Keep sessions short, around 10 to 20 minutes, and rest the bat overnight between them. Little and often compresses the fibres more evenly than a single long session.
Step 4: Round off the edges
The edges crack more easily than the face, so treat them carefully. Strike them with the rounded side of the mallet at about 45 degrees to the face, never square on. You're rolling the sharp corner into a smooth, rounded edge. Work slowly from the shoulder to the toe.
Step 5: Work the toe area
Tap the face just above the toe and the corners of the toe gently, as these take a beating from yorkers and from tapping the bat on the crease. Never strike the bottom of the toe or the back of the bat.
Step 6: Re-oil once during the process
After two or three hours of knocking, add another very light coat of oil to the face and let it dry before carrying on.
Step 7: Move on to the ball test
Once the face and edges feel firm and evenly compressed, it's time to test the bat with an old ball. See the ball test section below.
How long does it take to knock in a bat?
Plan on about six hours of mallet work for a senior English willow bat, spread across one to two weeks. Some bats are ready in four, some need eight. The ball test decides when you're finished, not the clock.
You'll see advice ranging from two hours to twenty. The spread is real, and it comes down to a few things.
|
What changes the time |
Less time |
More time |
|
Willow |
Firmer, harder-pressed blade |
Softer, lightly pressed blade |
|
Mallet |
Heavy hardwood mallet |
Light mallet or a ball in a sock |
|
Preparation |
Factory knocked in, or a protective face fitted |
Fully unprepared, natural face |
|
Bat size |
Junior bat, smaller hitting area |
Senior bat with big edges |
|
Force |
Building up steadily |
Very cautious taps throughout |
Soft, lightly pressed willow tends to give more ping but takes longer to toughen up. A hard-pressed blade needs less knocking in but may not feel as lively.
A two-week plan
|
Days |
What to do |
Time |
|
1 to 3 |
Oil the face, edges and toe; let each coat dry for 24 hours |
10 minutes a day |
|
4 to 7 |
Gentle mallet work on the face, then the edges at 45 degrees |
30 minutes a day |
|
8 to 11 |
Firmer strikes on the face; light re-oil midway |
45 minutes a day |
|
12 to 13 |
Ball test; more mallet work on any area that marks |
30 minutes a day |
|
14 onwards |
Net sessions with old balls only |
A few sessions |
That adds up to roughly six hours of mallet work, plus net time. If you're short of time, you can compress it into a week with longer daily sessions, but don't try to do it in a single day.
Junior bats
Junior bats have a smaller hitting area, so they usually take a little less time. Use the same method with lighter strikes throughout, because thinner edges are easier to damage.
The ball test: how to tell your bat is ready
Your bat is ready when a firm hit from an old leather ball leaves only a faint seam mark, or none, anywhere on the hitting area. If the seam leaves a deep line, that area needs more mallet work.
How to do it
- Hold the bat face up and drop or bounce an old, good-quality leather ball onto the middle from a short height. Then tap it up and down with gentle bat strokes.
- Gradually hit harder, moving across the middle, towards the toe and out to the edges.
- Hold the bat up to the light at an angle and look along the face. Seam marks and dents show up clearly this way.
- Mark any area with deep seam lines and give it another 15 to 20 minutes with the mallet. Then test again.
What you're looking for
|
What you see |
What it means |
What to do |
|
Deep seam lines or dents |
The willow is still soft there |
More mallet work, then retest |
|
Faint seam marks |
Nearly there |
Short top-up session |
|
No visible marks |
Ready for the nets |
Move on to old balls in the nets |
Then take it to the nets
Passing the ball test doesn't mean you're ready for a new ball. Use the bat in the nets against old balls for a few sessions first, avoiding full-power shots at the start. Check the face after each session. Once old balls stop leaving marks, you can face a new ball.
A good time to fit a clear protective face sheet is after the ball test and before you start using new balls.
Pre-knocked and machine-prepared bats: what still needs doing
A bat sold as pre-knocked has had some of the work done, usually by machine. It still needs a short top-up and a few net sessions before it faces a new ball.
"Pre-knocked", "pre-prepared" and "ready to play" mean different things from different makers. Machine preparation usually toughens the surface well but may not reach as deep as careful hand knocking. Treat any prepared bat this way:
- Check whether it's been oiled. If the face is natural willow and looks dry, give it one light coat.
- Spend 30 to 60 minutes with a mallet on the face and edges.
- Do the ball test.
- Use it in the nets with old balls for a few sessions before match play.
Knocking in your Fore Sports bat
Our Tornado English willow bat needs full knocking in before it faces a hard ball: plan on at least six hours. Unless a product page says otherwise, assume the same for the Hurricane and our junior sizes, such as the Tornado size 5. If you'd rather your bat arrived with preparation done, contact us before you order and we'll tell you what's available for the bat you've chosen.
Browse all our English willow cricket bats.
Common knocking-in mistakes
- Hitting hard too early. Full-force strikes on soft willow dent it deeply instead of compressing it evenly. Start gently and build up.
- Doing it all in one day. Short sessions with rest in between give a firmer, more even surface than one long session.
- Hitting the edges square on. This flattens and weakens them. Always strike at about 45 degrees.
- Striking the bottom of the toe or the back. Neither is a playing area, and both crack easily.
- Over-oiling. Too much oil adds weight and softens the willow. A teaspoon on the face is enough.
- Using boiled linseed oil. Use raw linseed oil only.
- Using a hammer. A metal hammer dents and cracks the face. Use a wooden mallet or an old ball.
- Skipping the nets. A bat that passes the ball test still needs a few sessions against old balls before a new one.
- Using cheap, hard practice balls. Low-quality balls can damage even a well-prepared face.
- Leaving the bat in a damp shed or car. Store it indoors in a cover, away from radiators.